


Every year, over 40,000 working Canadians are injured due to slip and fall accidents, particularly during the winter months. Ice, accumulated snow, and moisture outside facilities increase the risk, but that isn’t the only cleaning and maintenance challenge the winter season brings. Tracked in dirt and debris ruins floor finishes and can even permanently damage flooring materials.
RELATED: Preparing your facility for winter storms
It’s never too early to start planning for the winter season, and taking these four steps will ensure you’re well-prepared:
Step 1: The Right Product
To combat ice build-up through the winter season, it’s important to select the right product, and that starts with understanding the differences between rock salt and ice melt to be able to make an informed choice.
Ice melt combines a brine solution and various chemicals which generate heat to melt ice faster and keep it from refreezing for longer periods of time. While rock salt will also melt ice, its effectiveness is slower, and limited to temperatures of -15 degrees Celsius or higher. In contrast, ice melt is effective to temperatures as low as -26 degrees Celsius, making it more feasible for those colder months. Here are a few tips on using your products:
- Choose an ice melt with a bright colour to make it easier to see where it has been applied, identify areas that need more product, and avoid overuse.
- Check that the product is not harsh for vegetation or damaging to the environment, particularly if your facility’s landscaping or lawns border walkways and entrances.
- Look for a low effective temperature to ensure the product will work well in all conditions.
Step 2: The Right Application
Winter safety not only depends on the right ice melt product but without the correct application, effectiveness will be compromised:
- Apply ice melt in advance of a winter storm to prevent ice build up before it starts. Take a proactive, rather than a reactive, approach.
- Use the product consistently once snow has been cleared to maximize its effects. Don’t forget to sweep up excess ice melt to reduce environmental impact.
- Combine ice melt with a traction product for additional safety and to extend the duration of the product’s effectiveness.
Step 3: The Right Protection
Snow, ice, moisture, and debris tracked into entryways soil floors, damage floor finishes and substrates, and create a slip and fall hazard. Fortunately, the right matting program can collect up to 24 pounds of dirt and debris, preventing it from being tracked into indoor spaces. There’s a cost savings, too. It costs approximately $500 to remove just one pound of dirt from a commercial facility, so implementing a proper matting system before winter comes can save you time, labour, and expense. To achieve the best results, lay a minimum of 12 to 20 feet of matting, even in low-traffic entranceways. The matting system should include three components:
- Scraper mats: The first point of contact with your facility’s entryways should be a scraper mat placed outside the doors. Scraper mats are made of rubber and designed to remove and trap coarse debris, including ice melt. They should run at least five to six feet in length to maximize the dirt and debris collected from foot traffic and feature anti-slip surfacing to help avoid slip-and-fall accidents.
- Wiper/scraper mats: The second set of mats commonly sits in a vestibule inside the facility. About five feet of wiper/scraper mats will capture leftover debris and trap most of the snow and moisture. Wiper/scraper mats can both wipe and scrape debris and are perfect for facilities that don’t have enough space for multiple sets of matting.
- Wiper mats: These mats are often made with carpet or fibre surfaces. Most, if not all, of the major debris and moisture from boots and shoes, should be trapped by the last five feet of these absorbent mats, protecting the floors beyond them and throughout your building.
Step 3: The Right Tools
When it comes to maintaining the outside of a facility during the winter, ice melt alone is not enough. Ensuring the right tools are available and in good condition will improve your winter cleaning program and make it quicker and easier to clear entry and walkways.
Consider adding these three essentials to your winter maintenance program:
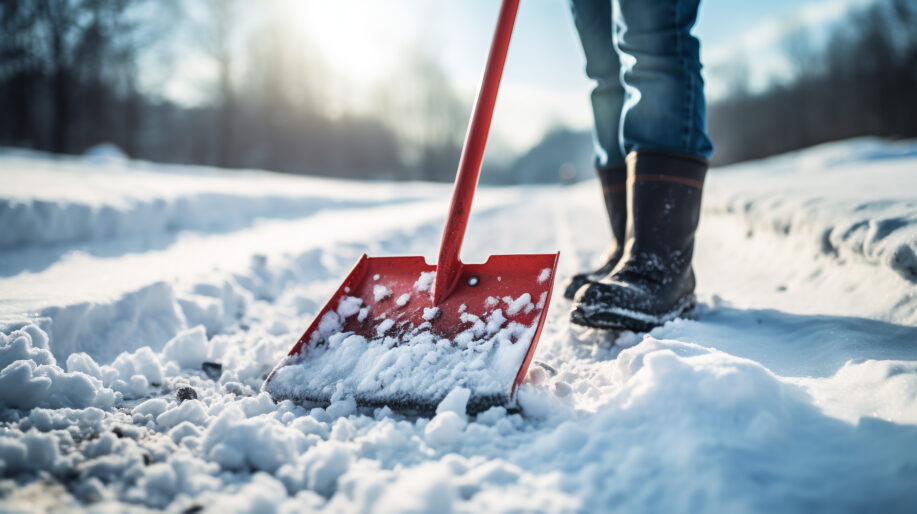
- Snow shovels: Invest in high-quality snow shovels with sturdy blades and ergonomic handles to efficiently clean accumulated snow from sidewalks, entrances, and small parking areas.
- Sidewalk scrapers: Designed specifically for icy surfaces, sidewalk scrapers are crucial to break up dense layers of ice and help prevent slips and falls. Remember: always clear ice away from your facility to avoid melting and refreezing.
- Broadcast spreaders: Broadcast spreaders can be used to spread ice melt evenly and accurately. They help to prevent excessive application and reduce cost and waste, and they come in a variety of spread patterns and hopper capacities to suit the size of each area.
Investing in winter safety not only protects employees and visitors from slip and fall injuries but also preserves the floors and improves the cleanliness of your facility. Taking a proactive approach that includes ice melt, matting, and essential winter tools ensures an effective and reliable winter cleaning and maintenance program.
David L. Smith is the cleaning, hygiene & sanitation director at Bunzl Cleaning & Hygiene, Canada’s largest specialist distributor of cleaning and hygiene products and equipment. For more information or to book a comprehensive Facility Assessment please contact david.smith@bunzlch.ca.
